PayPal is a global payment gateway. It offers a seamless way to manage payments on your website or app; in your physical store and over phone or email. Now you can create Indian Paypal account to receive money in rupee.
Create India Paypal account to receive payments:
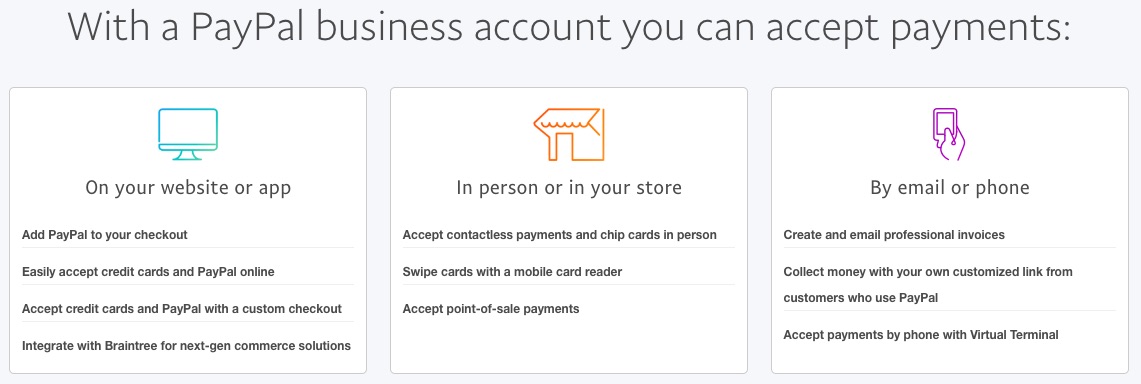
- On your website or app (1)
- Add PayPal to your checkout
- Easily accept credit cards and PayPal online
- Accept credit cards and PayPal with a custom checkout
- Integrate with Braintree for next-gen commerce solutions
- In person or in your store (1)
- Accept contactless payments and chip cards in person
- Swipe cards with a mobile card reader
- Accept point-of-sale payments
- By email or phone(1)
- Create and email professional invoices
- Collect money with your own customized link from customers who use PayPal
- Accept payments by phone with Virtual Terminal
Documents needed to Create Indian Paypal Account
To create a Paypal account in India, you need the following document or information:
- Nature of your business: Private / Partnership ? Individual / Government
- Name of the primary business contact person
- Business name as per registration in Business incorporation or Bank account documents
- Primary Business Address
- Tax registration number such as PAN card
The above documents are a must to create an account. Some other documents are needed at a later stage.
Related Articles
How to Create Indian Paypal account
PayPal is now in India. The payment gateway has over 19 million businesses globally as a customer, who accept PayPal.
As a customer you have two options to create a Paypal business account:
- PayPal Express
- PayPal Standard
How to create Indian Paypal account step by step
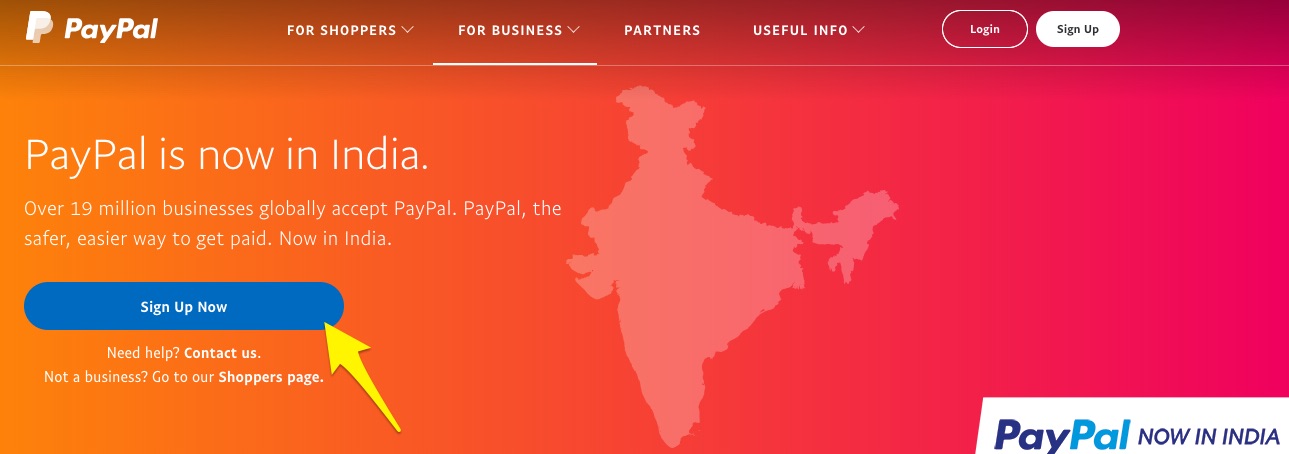
Step 1: To begin, go to PayPal’s signup page here.
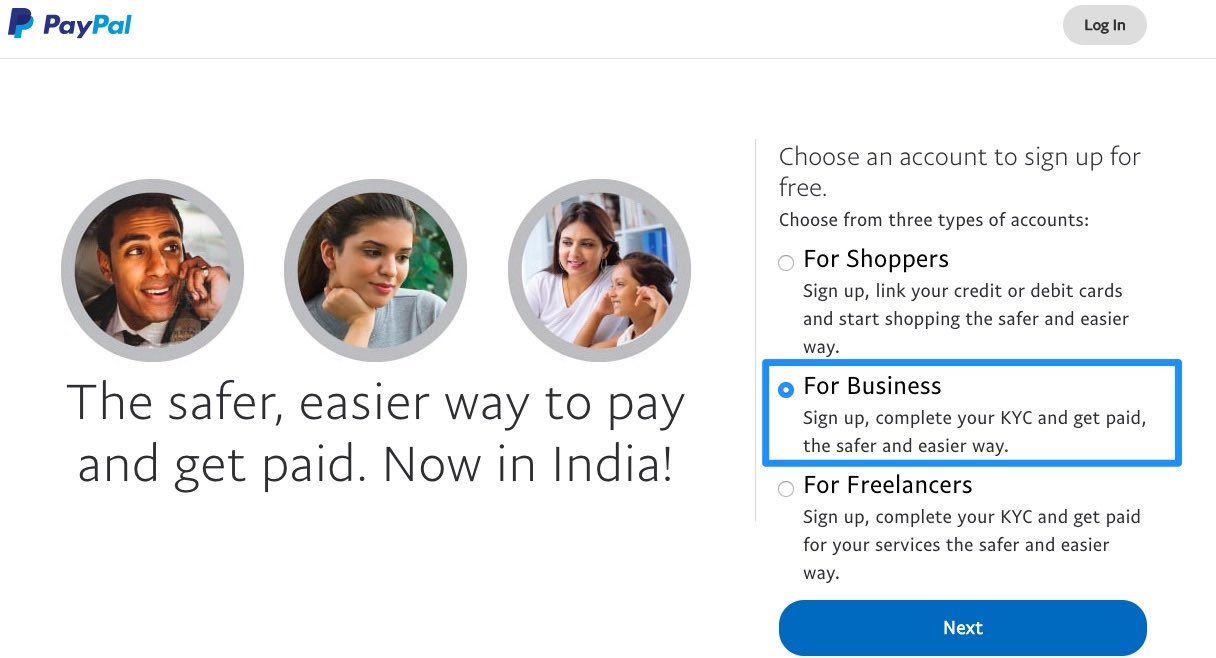
Step 2: Select Business Account and click Continue.
Step 3: Enter the Email ID you want to use for your Business account
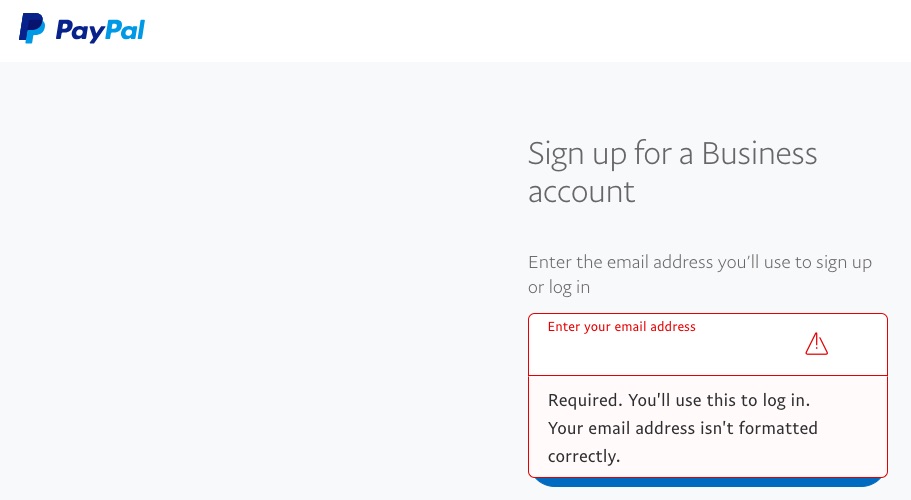
Step 4: Choose a strong password and move forward.
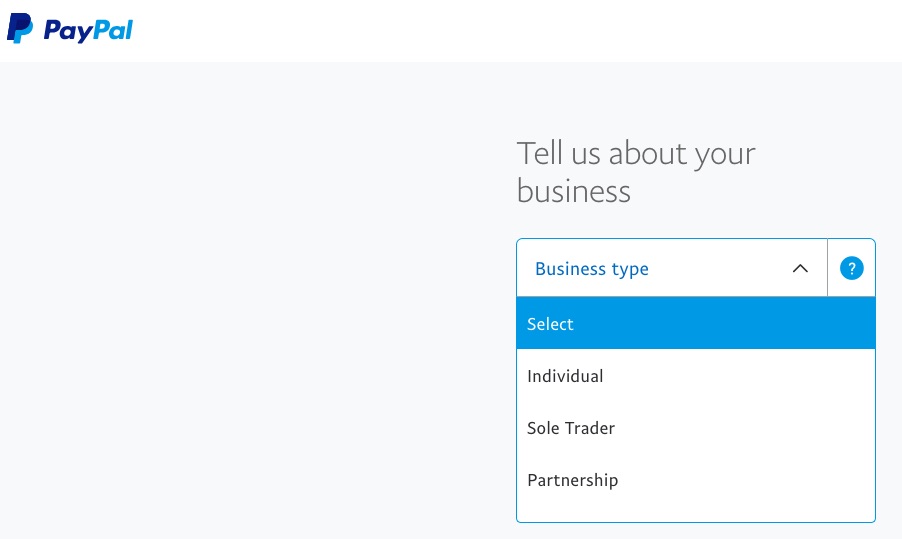
Step 5: Choose the type of your Business you are
Here you will start sharing additional details about your business. You could be a proprietor (Individual or sole trader) or partnership or a private limited or a government entity. Depending on what you are choose the best option that describes your business. The moment you choose as option, Paypal will ask for additional info of your business. Paypal needs all this info as government authorities insist on them doing a proper due diligence on their customer.
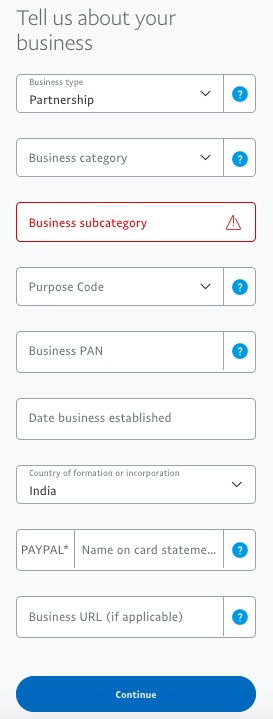
Steps 6: Provide additional details about your business
This is where you will be providing details such as your business category/subcategory and business purpose code.
You would also need your business PAN Card / Tax registration number. If you are a business, you already having the same. The tax registration number is issued by your local government and is pretty easy to get.
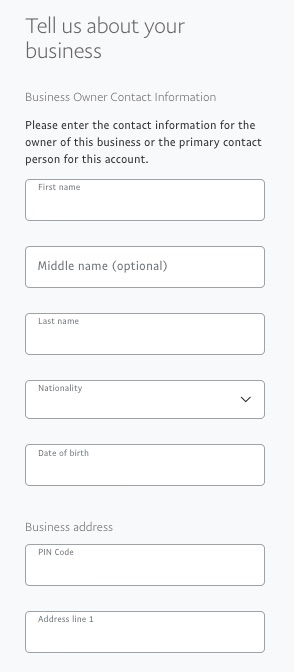
Step 7: Provide Business Owner or primary business contact person Information.
This is where you will provide the contact information for the owner of your business or the primary contact person for your account.
Step 8: Provide additional information as required, something very easy for you to provide
Depending on your business type, Paypal will ask for certain other information at this juncture. Once you have provided that you have created your paypal business account.
Confirm to Create Paypal email Address
Step 9: Voila, your paypal account is created.
Check the email id you have provided during this registration process. You must be already having an email from Paypal. The email will look something like this.
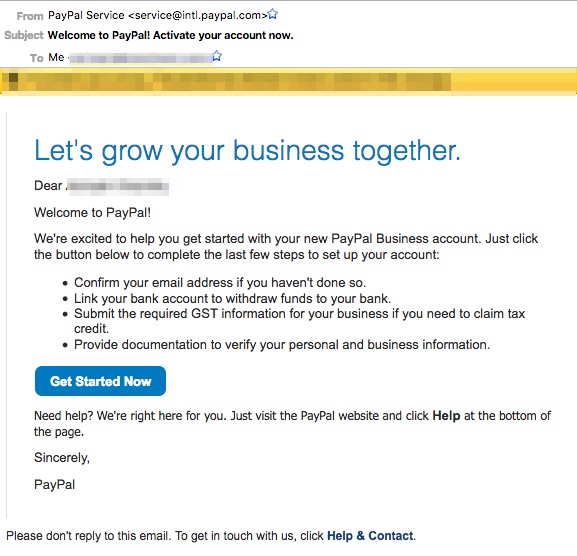
Step 10: Click on the get started Now Button
This is where you will see the screen below (You will also see the same screen after creation of the account in the above process after step 8)
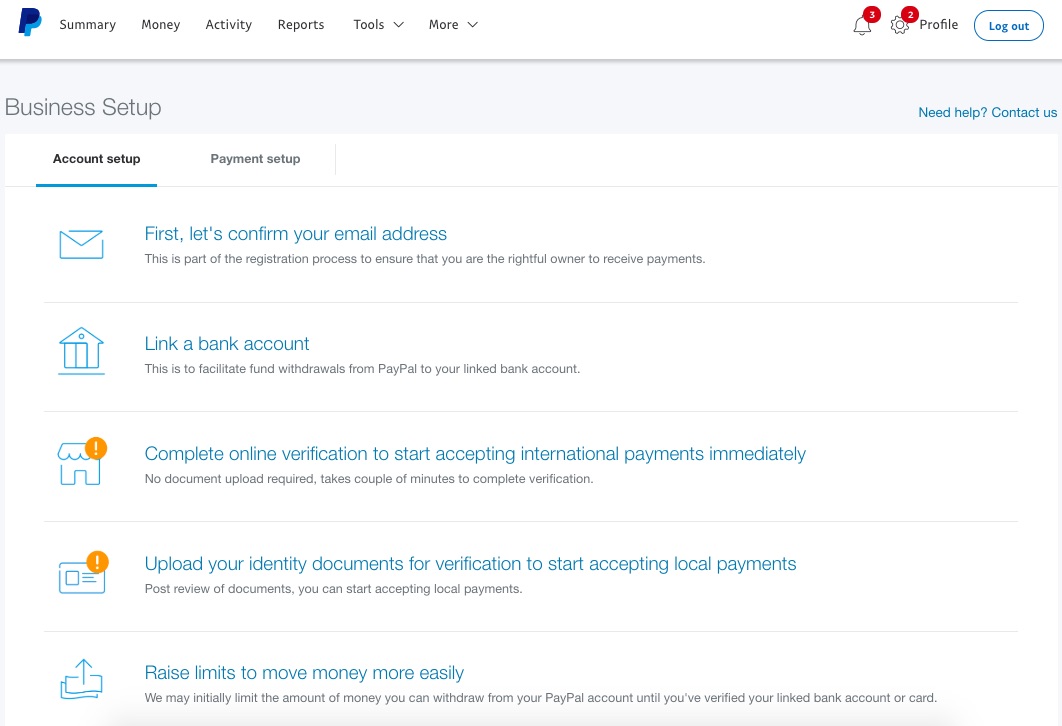
The above process will exactly take less then 15 minutes.
At this stage you would need the following Documents and information
Information & Documents needed to get full-fledged Paypal Account
At this stage you would need the following Documents and information
- Bank account details
- Account type
- Account number
- IFSC code
- Personal Identity information of the person managing the business account
- PAN card details
- Business documents
- PAN card
- GST number if applicable
- 6 months bank statement as address proof
- Establishment certificate as business identity information
- Authorisation letter in the name of the person managing the business account.
- PAYPAL AUTHORISATION LETTER TO CREATE INDIAN PAYPAL ACCOUNT
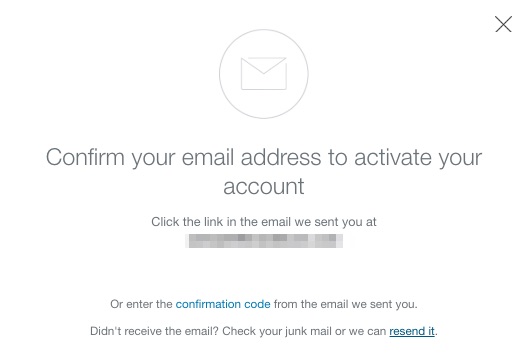
Step 10: Now confirm your email address, click on the link

You will see the following window:
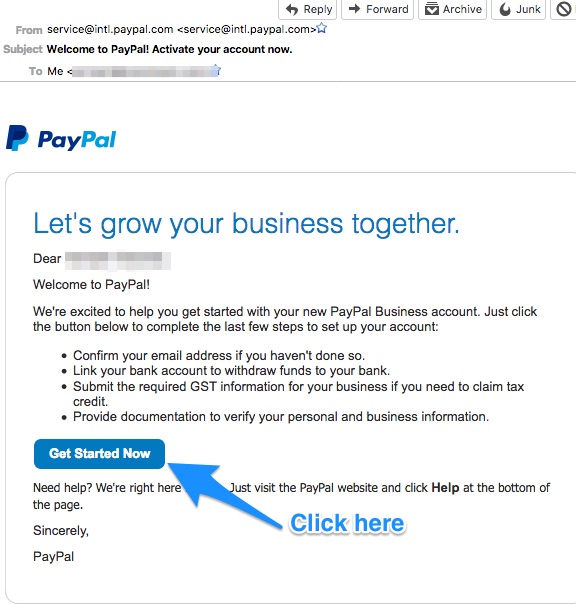
Step 11: Click on the email in your mail box (entered during registration)
How to create Paypal account with my bank account
Step 12: Connect your Business Bank Account
Now Click on the next link.

Once you click on the link above you will see the following screen. Enter all the relevant information.
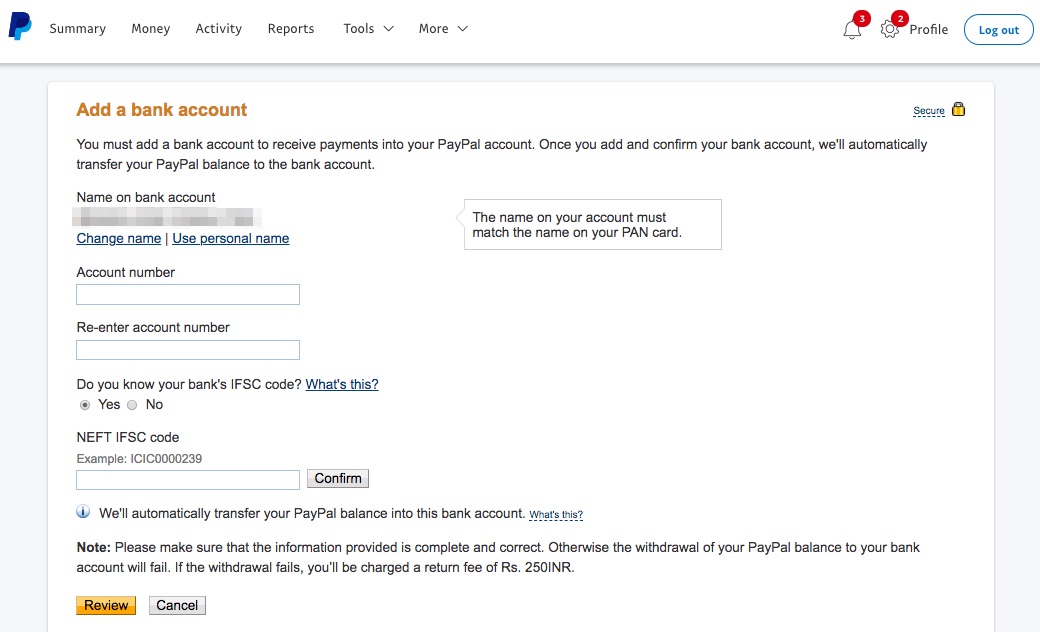
Once your submit all the information press on the REVIEW button. Paypal will get your confirmation of the info submitted by you. Once you confirm Paypal will transfer two small amounts in your bank account.
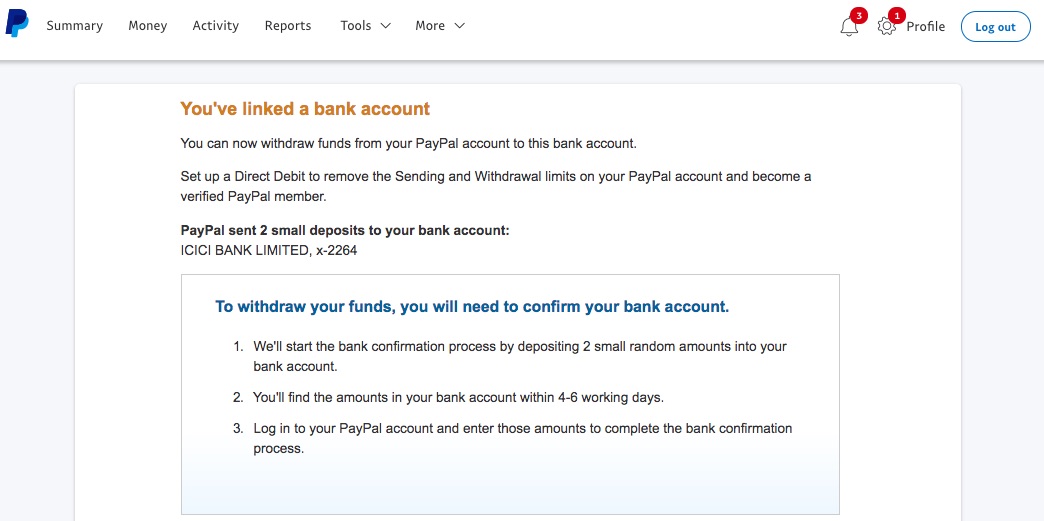
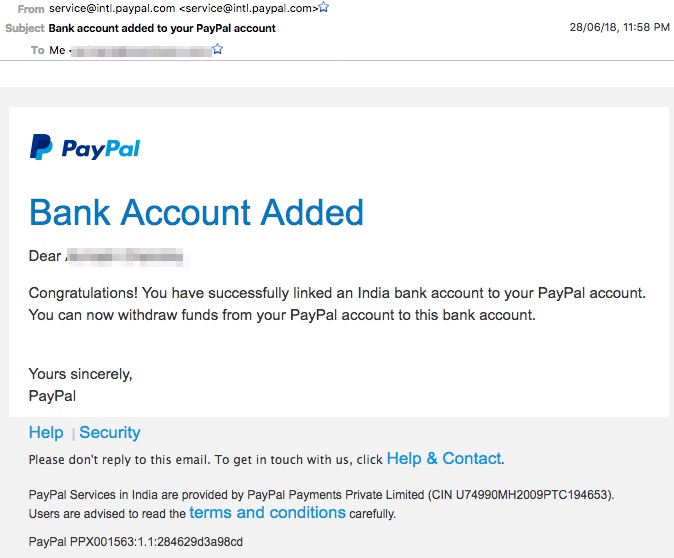
Once you receive that payment in your account, you need to use that amount as a confirmation of your ownership of that bank account. At this juncture you will receive a confirmation from Paypal.
Step 13: Provide Complete Business Information
Now you need to provide complete personal and business identity documents and information to Create Indian Paypal Account.

Submit all documents one by one in the screen that you see now:
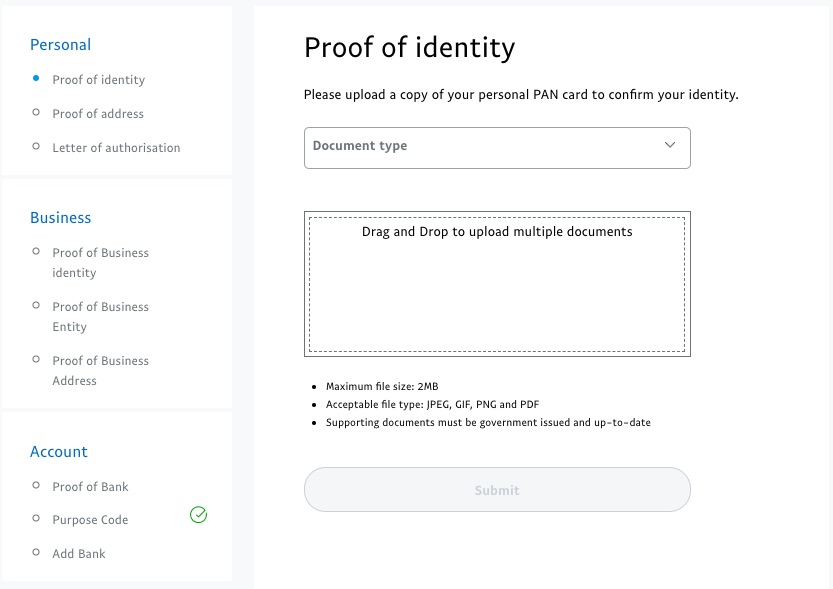
Now you have provided complete information to Paypal and you are all set to integrate Paypal Payment gateway to your website.
Step 14: Integrating Paypal to your wordpress website.
To connect paypal payment gateway to your website, login to your wordpress website >> Woocommerce >> Settings >> Payments >> Enable Paypal
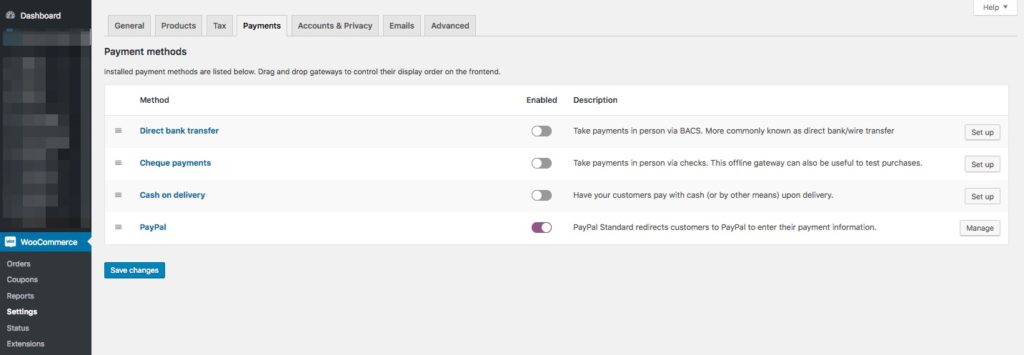
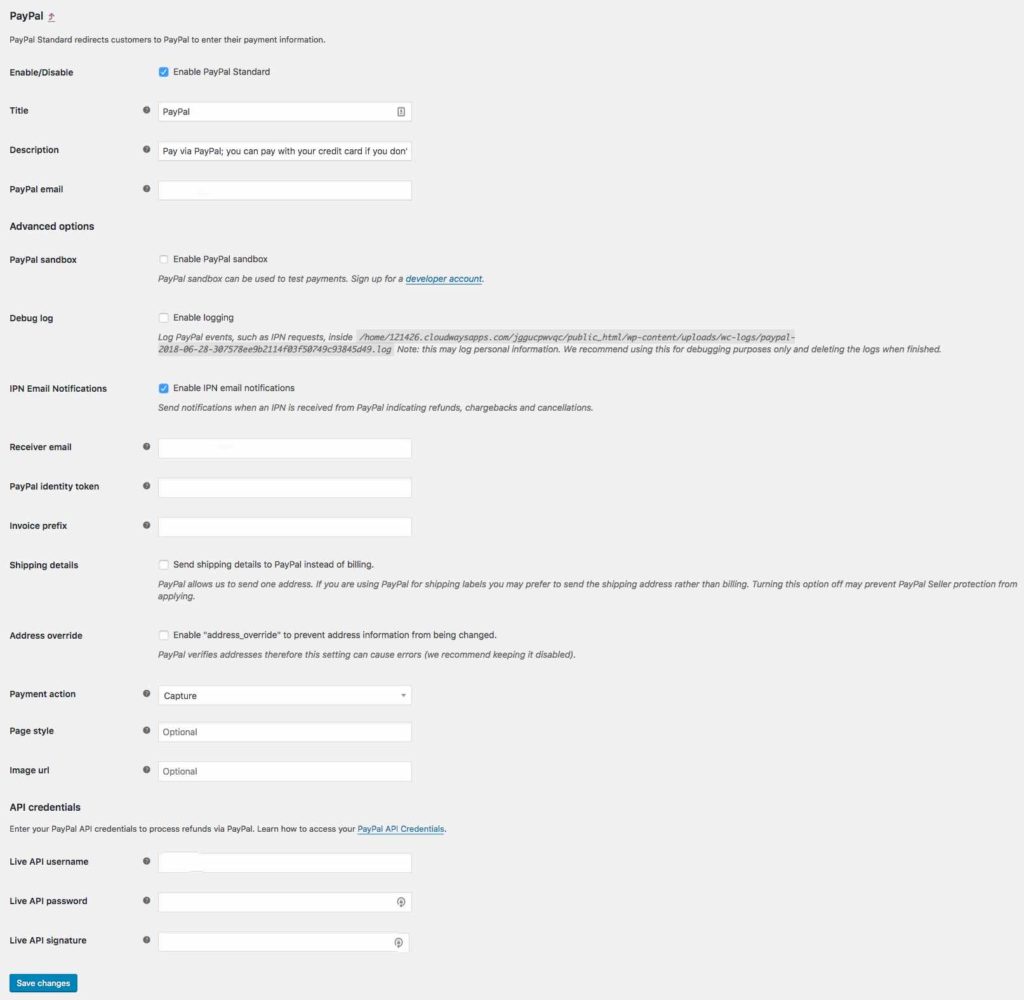
Now once you click on “Manage” you will see the form below, which is self explanatory.
Step 15: Generating Paypal API credentials
To generate Paypal API credentials log in to your PayPal account and move the mouse over the Tools menu in top navigation. Click on the Find More Tools within that. And click on it.
Scroll the page till you see a box with API credentials written. Click on it.
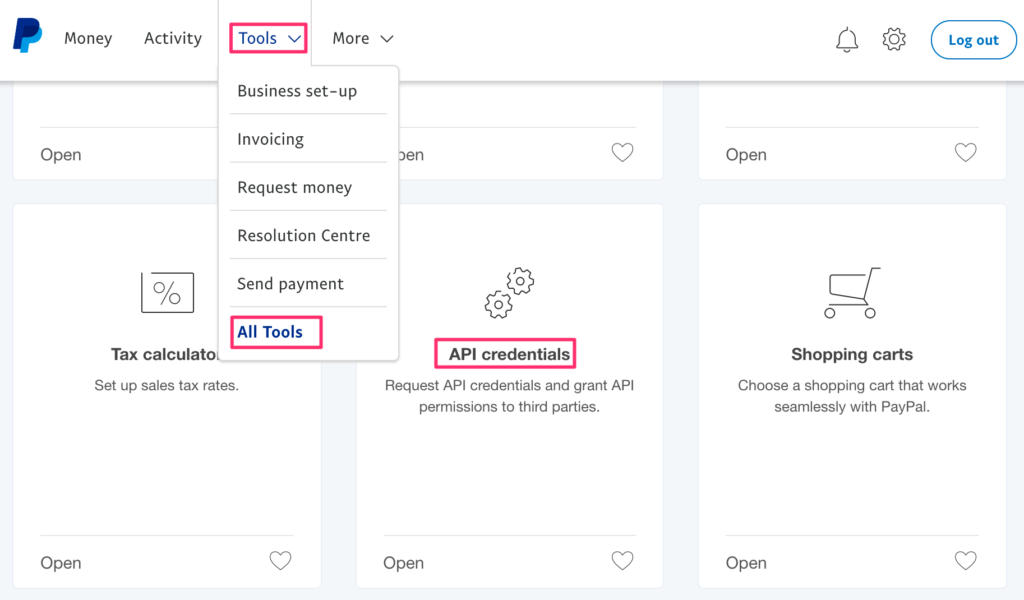
Once the API credentials page is open click on the last option for NVP/SOAP API integration.
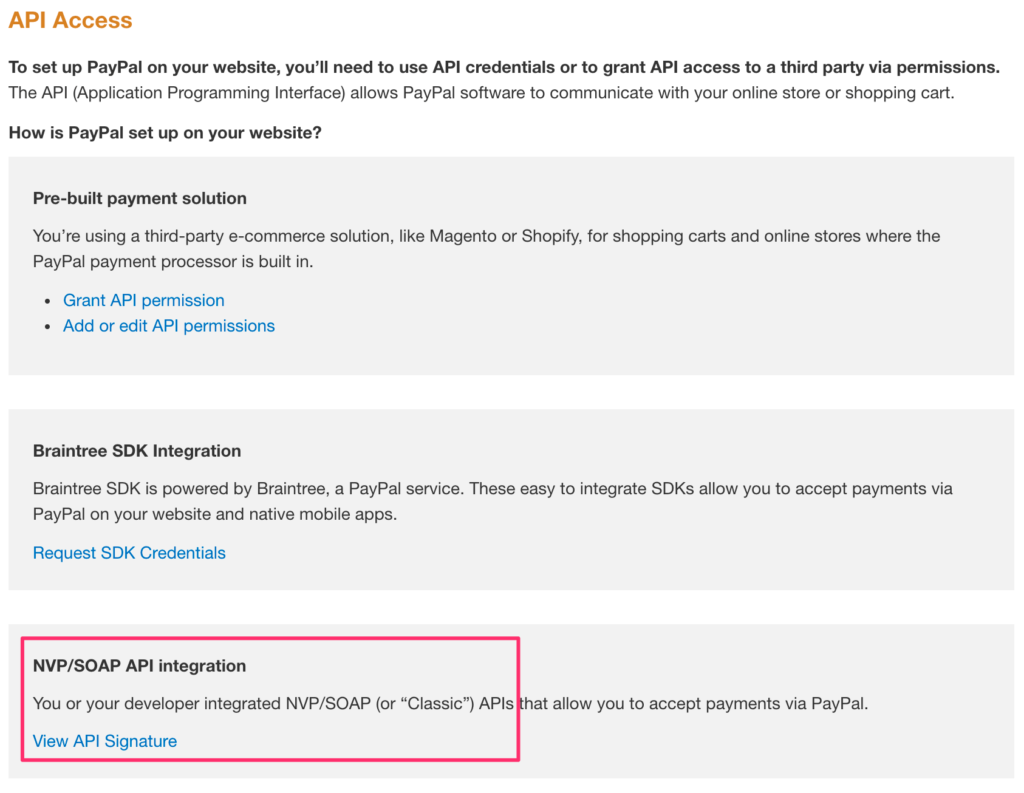
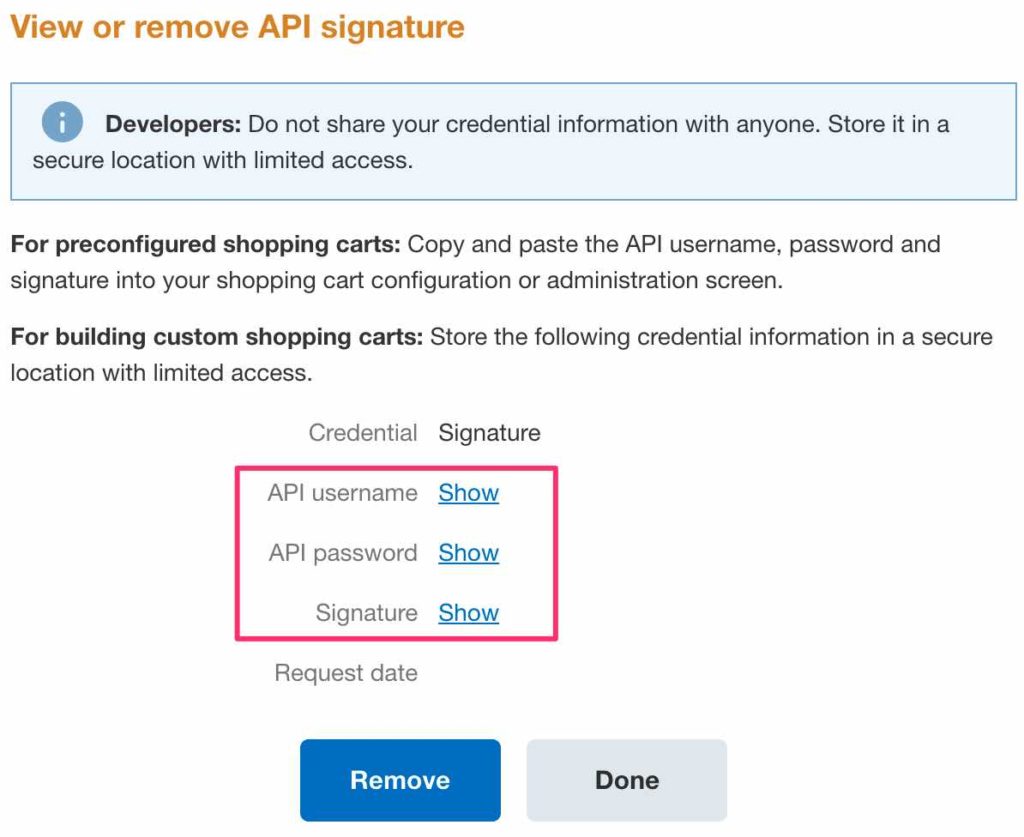
As this is the first time you are accessing API credentials, complete the API Credential Request form. Once you have created the API credentials, you will see View API Signature option under NVP / SOAP API integration.
Click on the View API Signature and you will see a page like the below. Click on each link that says “Show” to see the API credential username, password and signature.
Step 16: Enter the information on your WordPress website page from step no 14.

NOW, you have finished all of the above. NOW you are well set to start working with Paypal payment gateway. Until confirmation you will not be in a position to start transferring payment to your bank account, however you can start receiving payments.

